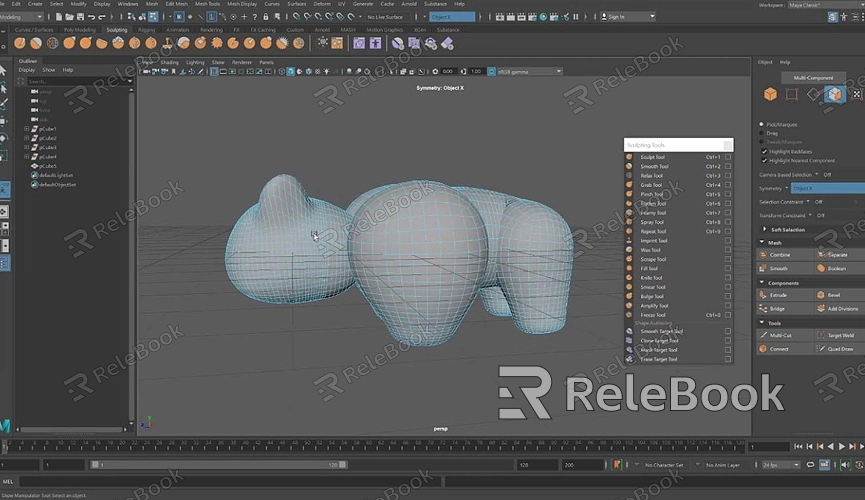
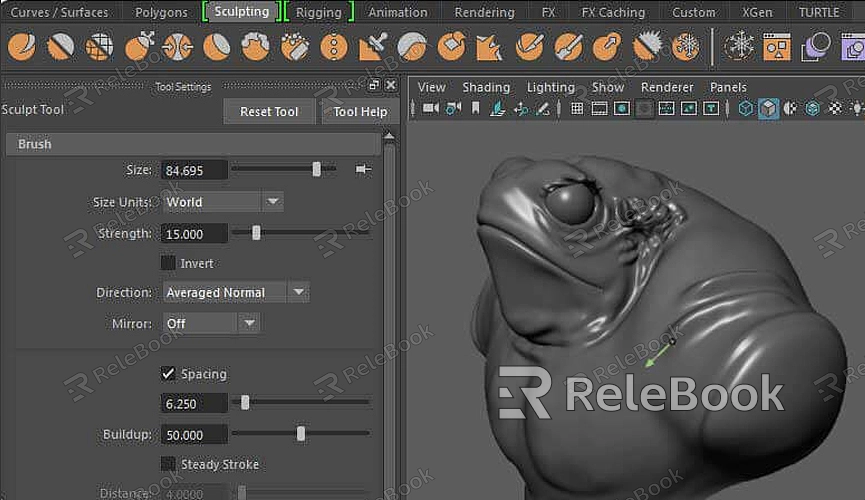
How to Use the Sculpting Tool in Maya?

Understanding the Sculpting Tool
The sculpting tool in Maya offers a range of functionalities that enable users to modify their 3D models in a highly controlled manner. Sculpting tools are designed to give artists a more hands-on approach to modeling, allowing for dynamic and organic shapes. Key features include various brushes and settings that adjust the way the surface of a model is manipulated. Understanding these features is the first step towards mastering Maya's sculpting capabilities.
Setting Up Your Workspace
Before diving into sculpting, it’s crucial to set up your Maya workspace to accommodate sculpting tasks. Begin by opening Maya and creating or importing the model you wish to work on. Ensure your model is in a format that supports sculpting, such as a polygon mesh. For best results, it’s advisable to use a model with sufficient polygon density, as higher detail levels make sculpting more effective.
1. Open Maya: Launch the software and either create a new project or open an existing one.
2. Import or Create a Model: Use the 'File' menu to import a model or create a new one from the polygon tools.
3. Switch to Sculpting Mode: Go to the 'Sculpting' shelf in Maya. If it’s not visible, you can add it through the 'Shelf' menu.
Navigating the Sculpting Tools
Once your workspace is ready, you can start exploring the sculpting tools. Maya’s sculpting toolset includes brushes for various purposes, such as adding or subtracting volume, smoothing surfaces, and detailing fine features.
1. Select a Brush: On the sculpting shelf, choose from brushes like ‘Sculpt’, ‘Smooth’, ‘Grab’, and ‘Pinch’. Each brush serves a different purpose.
2. Adjust Brush Settings: Modify settings like size, strength, and falloff to control how the brush affects the model. For example, increasing the strength will make the brush more aggressive, while adjusting the falloff will determine how the effect diminishes away from the brush’s center.

Using Basic Sculpting Brushes
Start with basic brushes to get a feel for how they work. Each brush has a specific function, and mastering these will provide a solid foundation for more advanced sculpting techniques.
1. Sculpt Brush: Use this brush to add or remove material from your model. Adjust the brush size and strength to control the intensity of the sculpting.
2. Smooth Brush: This brush helps to even out the surface of your model. It’s particularly useful for refining details and correcting any inconsistencies.
3. Grab Brush: The grab brush allows you to move large areas of your model. It’s ideal for repositioning parts of your model without altering the overall shape too drastically.
4. Pinch Brush: Use the pinch brush to create sharper edges and details by pulling vertices together.
Advanced Sculpting Techniques
As you become more comfortable with basic sculpting, you can explore advanced techniques to enhance your modeling skills further.
1. Layered Sculpting: Utilize layers to apply different sculpting effects on top of each other. This allows for non-destructive editing and more complex detailing.
2. Dynamic Tessellation: Enable dynamic tessellation to automatically add geometry to areas of your model as you sculpt. This feature is useful for adding fine details without manually increasing the model’s resolution.
3. Custom Brushes: Create and save custom brushes tailored to specific tasks. This can streamline your workflow and improve efficiency.
Troubleshooting Common Issues
Sculpting in Maya can sometimes present challenges. Here are some common issues and how to address them:
1. Performance Lag: If you experience lag, consider reducing the model’s complexity or adjusting the brush settings. Lowering the strength or size of the brush can also help.
2. Surface Artifacts: Artifacts may appear due to insufficient geometry. Use the ‘Add Divisions’ tool to increase the model’s resolution.
3. Brush Sticking: If a brush seems to stick or doesn’t behave as expected, try resetting its settings to default or checking for any conflicts with other tools or scripts.
Finalizing Your Model
After sculpting, you’ll need to finalize your model for use in animation or rendering. This involves several steps:
1. Check for Errors: Inspect your model for any errors or imperfections. Use Maya’s mesh analysis tools to identify and correct issues.
2. Retopologize if Necessary: For high-resolution models, consider retopologizing to create a cleaner, lower-resolution mesh that retains the details.
3. Texture and UV Mapping: Apply textures and create UV maps to ensure your model looks as intended in renders.
FAQ
How do I access the sculpting tools in Maya?
You can access the sculpting tools from the 'Sculpting' shelf in Maya. If the shelf is not visible, you can add it through the 'Shelf' menu.
What types of models are best for sculpting?
Models with a higher polygon count are ideal for sculpting, as they allow for more detailed and precise modifications.
Can I use sculpting tools on non-poly models?
Sculpting tools work best with polygon meshes. For other model types, you may need to convert them to polygons before sculpting.
How can I improve performance while sculpting?
Reduce the model’s polygon count, adjust brush settings, or use lower resolution for more complex models to improve performance.
Are there any recommended practices for sculpting in Maya?
Regularly save your work, use layers for different sculpting stages, and check your model for errors periodically to ensure a smooth workflow.

